
Write your own Laravel authentication
Creating your own login and registration code is easier than you think

Laravel is awesome. One of the biggest benefits to me has always been getting “auth” (the ability to create user accounts) out of the box with zero setup required.
However with the release of Laravel 8, things have changed somewhat and the auth setup isn’t as straight forward as it used to be. The makers of Laravel have opted to force us down a path of using either “Livewire” or “Inertia”. I’m sure these are both great but if you’re like me and you don’t want forced into something then it may be time to write your own authentication.
This guide is written with the assumption that you have a fresh Laravel install ready to go and that you understand at least the basics of the Laravel framework.
To have users, we need a User model. Laravel gives us one out of the box, so let’s jump in and create a signup page. I recommend installing this great package that allows you to create views from the command line. Run the following command:
composer require sven/artisan-view --devYou can now create a view with artisan:
php artisan make:view register --extends layouts.app --section contentThe above command creates a view called “register” that extends “layouts.app” and contains the section “content”. It looks like this:
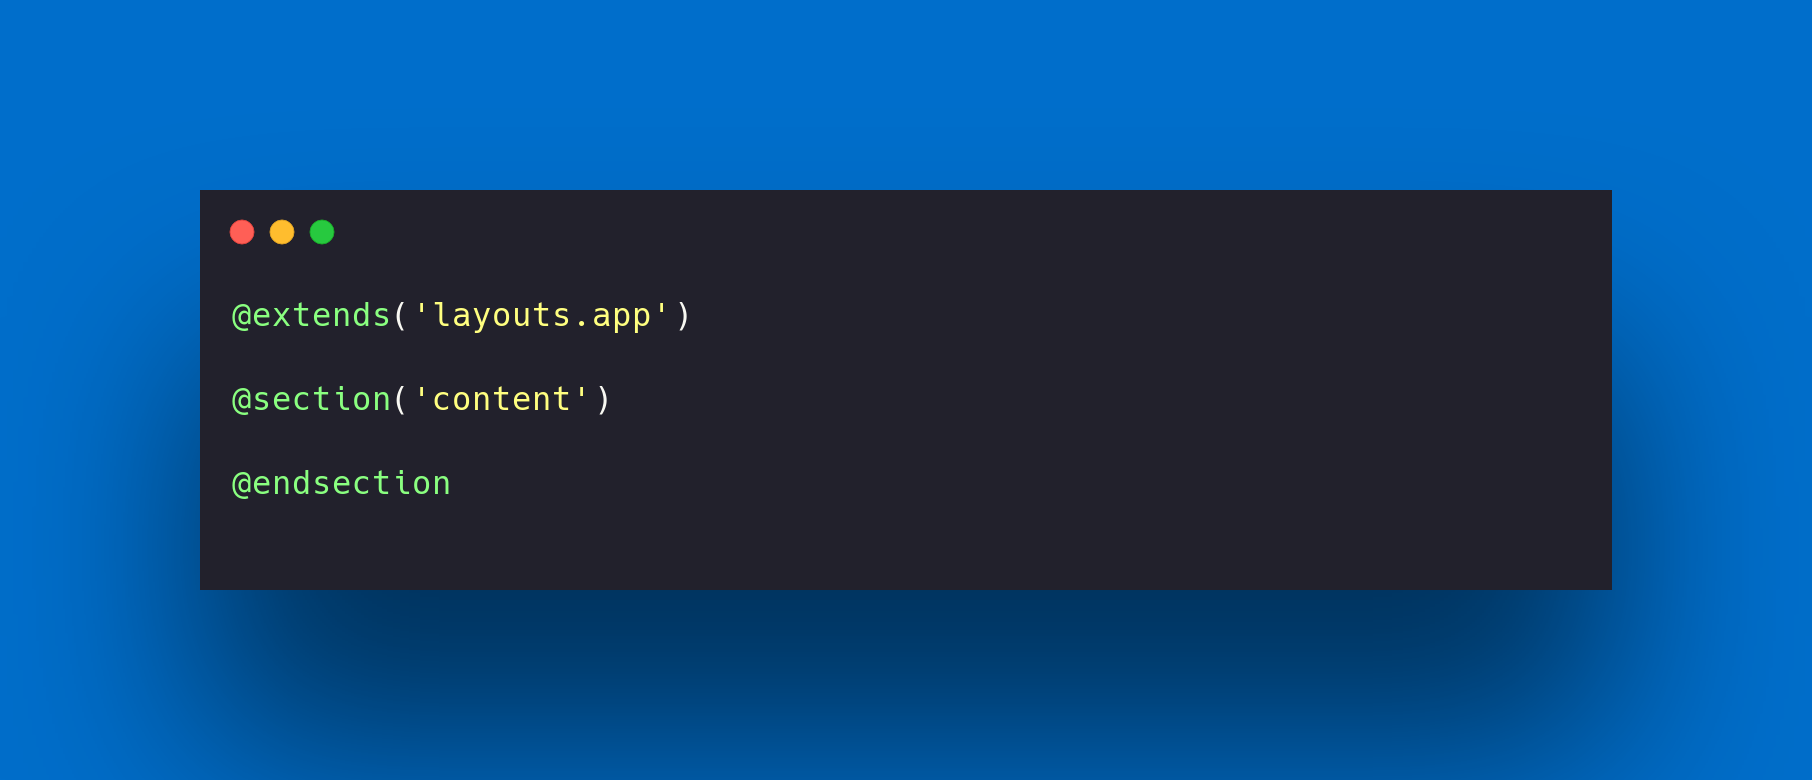
Now lets create our signup form. We’ll keep it basic here. Add the following code inside the “content” section:
@extends('layouts.app')
@section('content')
    <form class="" method="post" action="/register">
    @csrf
        <input type="text" name="email" class="" placeholder="" value="" id="">
        <input type="password" name="password" class="" placeholder="" value="" id="">
        <input type="submit" name="" class="" placeholder="" value="submit" id="">
    </form>
@endsection
Your blade file should now look like this:
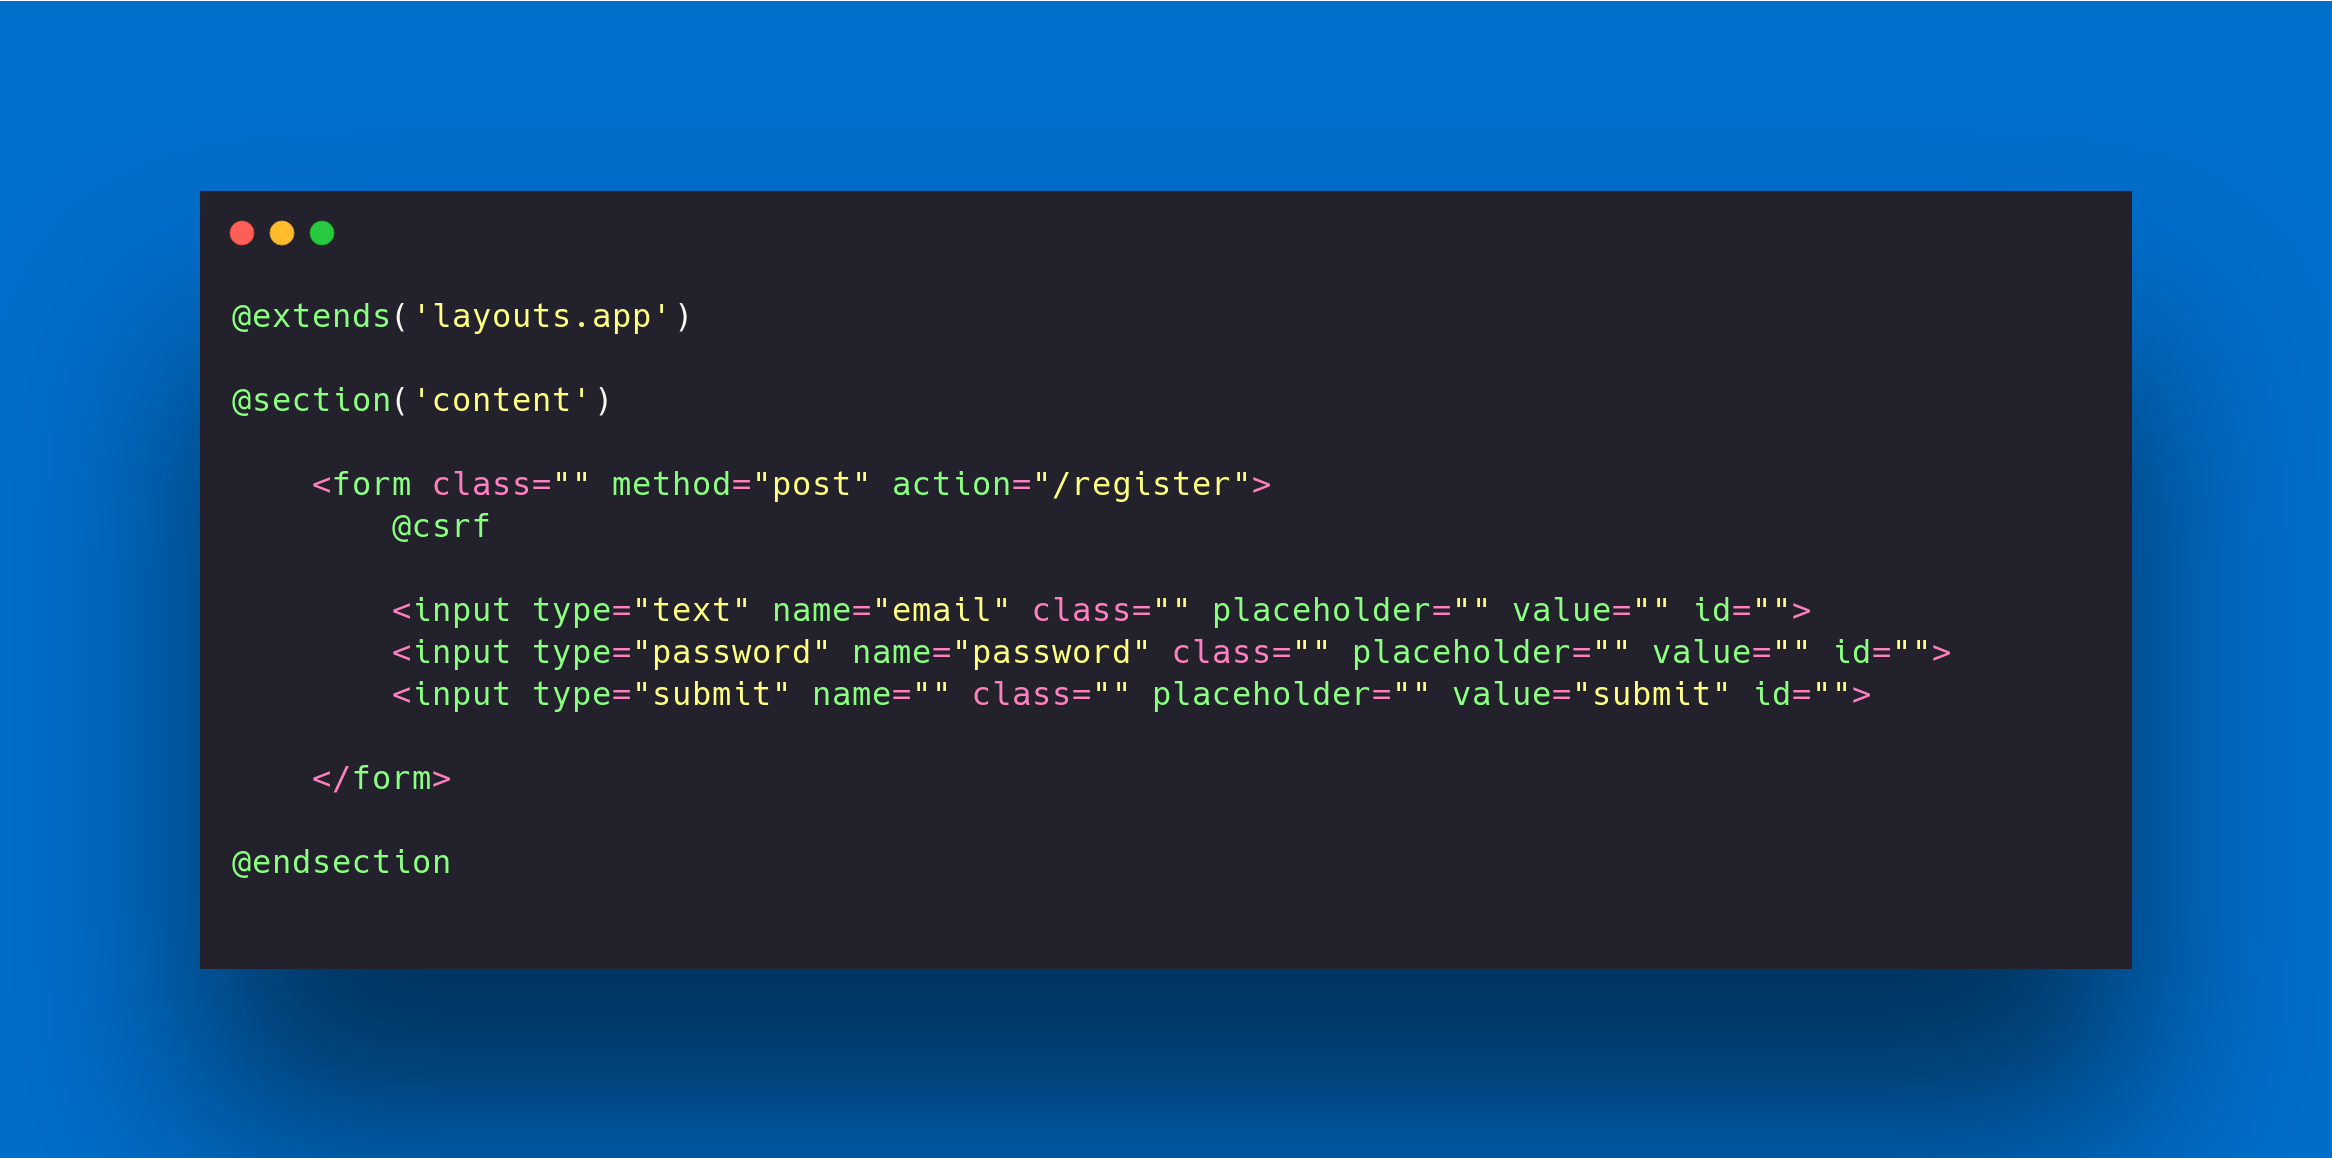
This form will take and email input, a password input and POST it to the route /register.
In order to process this information. We need a controller. Let’s make one:
php artisan make:controller RegisterControllerWe now have fresh controller that looks like this:

Let’s write the code that will catch the information from the signup form and create a user.
The first thing we need to do is create our function
public function register(Request $request) { }We’re going to be creating a user so we need to make sure we also import the User model. Add this to your controller also:
use App\Models\User;Your controller should now look like this:

Now it’s time to catch that POST data (the email and password) and create a user.
$user = new User(); $user->email = $request->email; $user->password = Hash::make($request->password); $user->save();There are a few things to note here.
We’re catching the data from the signup for using the $request variable. Anything you pass from a form via POST will arrive “inside” this variable. To get to each individual bit of data you use whatever value you gave the “name” attribute in the signup form, eg $request->email gives you the email address that was entered.
We can’t just store the password as it was typed. That would be crazy… so we use the Hash class to encrypt it. If you don’t understand the ins and outs of why we have to do that, it doesn’t really matter for the scope of this tutorial. So long as you understand that we don’t save passwords to the database in plain text. They MUST be encrypted.
Your controller should now look like this:

At this point the user data is stored to your database but they’re still not logged in. We can do this using Laravel’s Auth class.
Auth::login($user);This is passing in the user object ($user) and creating them an active session. Once again if you don’t understand that it doesn’t matter right now. So long as you understand that the above line of code logs in your user, then you’re good.
Note that as you add in classes like Hash and Auth your IDE will be importing them into the controller. If not make sure to do this manually. This means at the top of the controller next to all the other “use” statements you need to add in whatever classes you use:
use Illuminate\Support\Facades\Auth; use Illuminate\Support\Facades\Hash;After we’ve created the user and logged them in, we’ll want to send them somewhere. For the sake of this tutorial lets send them to the homepage:
return redirect('/');Your controller should now look like this:

The controller is now done, and the blade file is now done. All that’s left to do is connect them with a route.
If you remember on the signup form we told it to post the data to /register. We need to tell the laravel app that /register points to the register method inside the RegisterController. We do this in the routes file: web.php.
By default the web.php file looks like this:

We’ll add a new route that connects the signup form to the controller:
Route::post('/register', [RegisterController::class, 'register']);If your IDE doesn’t do it for you, you will also need to manually import the RegisterController class at the top of your web.php file:
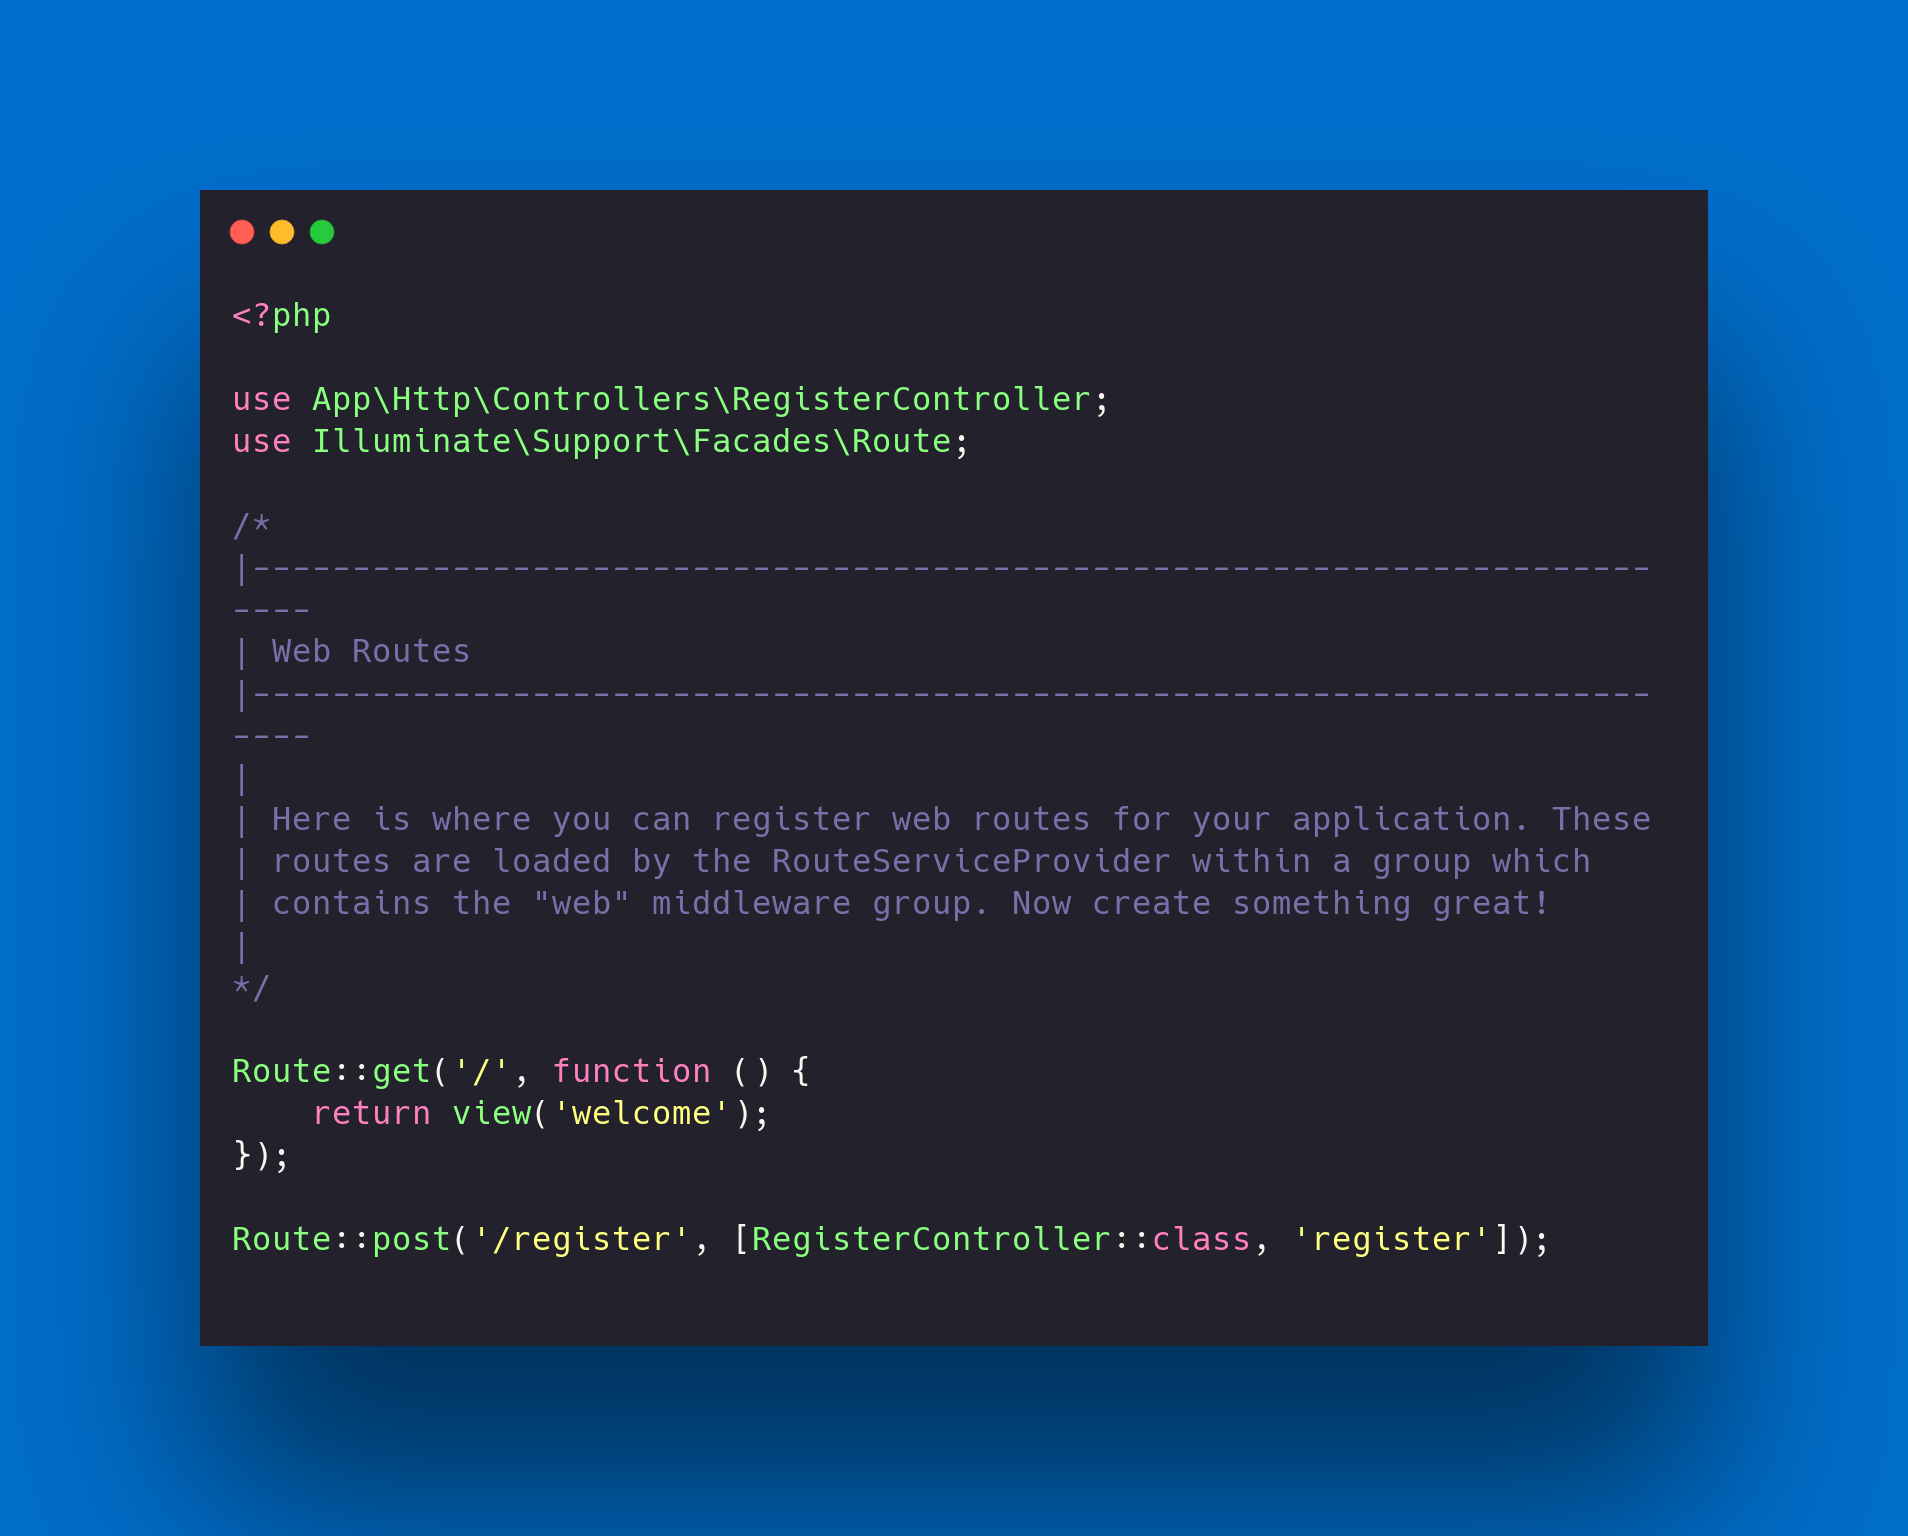
use Illuminate\Support\Facades\Route;Your web.php file should now look like this:
The last thing we need to do for registration is to add a route that lets the user get to the signup page. We do this once again, in web.php:
Route::view('/register', 'register');This displays the register view when someone navigates to /register in your app.
The finished routes file looks like this:

Lets summarise
We created a signup page that users can access by navigating to /register
The signup form posts data to RegisterController
The register controller takes the data and saves it to the database
The password is encrypted
We use the Auth class to log the user in
We redirect the user to the homepage
If you found this tutorial useful then please subscribe to the blog. If it seems like this has been useful I’ll write the same type of document for writing the login code.